How to Inspect Your RV Roof: A Seasonal Checklist
A step-by-step guide to inspecting your RV roof before and after camping season, so you can catch leaks and damage before they become expensive repairs.
Water damage is the most expensive repair an RV owner will ever face. A leaking roof seal that goes unnoticed for a season can rot out structural framing, destroy cabinetry, and turn a manageable fix into a five-figure nightmare.
The good news: roof inspections take less than an hour and require no special tools. Do this twice a year and you eliminate the most common path to catastrophic RV damage.
When to Inspect
Inspect your roof at the start of camping season and again at the end, before you put the rig in storage. If you store your RV through winter, add a check in the middle of the storage period if your area gets heavy snow or ice loads.
Any time something hits your roof on the road, inspect before your next trip.
What You Need
- Rubber-soled shoes (essential for grip and to avoid cracking TPO or rubber membranes)
- Lap sealant matched to your roof material
- Eternabond tape for quick temporary patches
- A flashlight
- Mild dish soap, water, and a soft-bristle brush
- A rag
Know Your Roof Type First
Inspection products and repair materials differ by roof material. Using the wrong sealant can cause more problems than it solves.
| Roof Type | Appearance | Notes |
|---|---|---|
| Rubber (EPDM) | Gray when clean, black when dirty | Soft, slightly stretchy. Common on older rigs. |
| TPO | White or off-white, stiffer | Requires TPO-specific sealants. |
| Fiberglass | Hard, glossy surface | Cracks and crazes over time. |
| Aluminum | Metal panels, often older coaches | Check for lifted seams and rust. |
If you are not sure what type you have, check your owner's manual or search your coach model before buying repair materials.
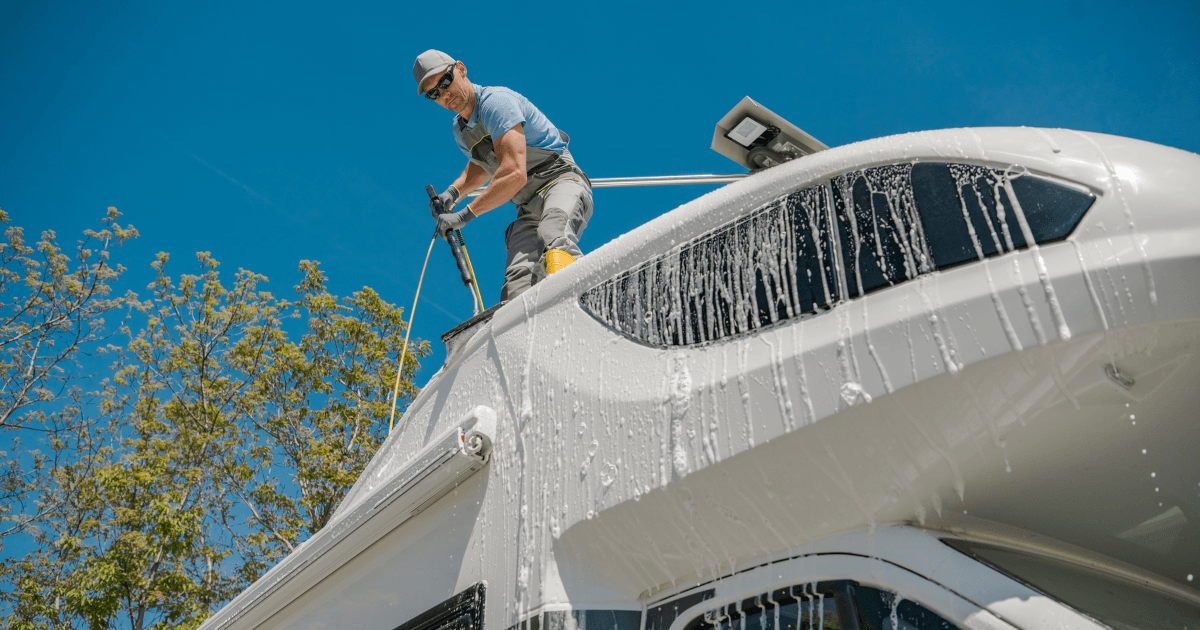
The Inspection Checklist
1. Check Every Penetration
Every hole in your roof is a potential leak. That includes:
- Roof vents and fans
- Air conditioner units
- TV antenna and satellite dish base
- Solar panel mounts
- Plumbing vents
- Ladder attachment points
- Awning hardware
At each penetration, look for cracked, dried, or missing sealant. Healthy sealant is pliable and adheres smoothly to both the roof surface and the fitting. Sealant that has turned chalky, cracked, or pulled away at the edges needs to be reapplied. Since you're already up there checking the AC unit's mounting sealant, it's also worth pulling the shroud to inspect the condenser coil for debris and pest nests. The rv ac troubleshooting guide covers that inspection as part of spring opening maintenance.
2. Walk the Seams
All roofs have seams at the front cap, rear cap, and along the sides where the roof membrane meets the sidewalls. These are high-stress areas that expand and contract with temperature changes.
Press gently along each seam and look for any give, lifting, or separation. Pay close attention to corners, which bear the most stress.
3. Scan the Surface
With a clean roof surface, look for:
- Blisters or bubbles in the membrane (a sign of trapped moisture)
- Cuts, punctures, or gouges
- Areas where the roof material has pulled away from the underlayment
- Dark staining that was not there before
For rubber and TPO roofs, stay near the center of the roof where structural support is underneath. Avoid walking close to the edges where the membrane transitions.
4. Check the Inside Too
The outside inspection tells you where damage exists. The inside inspection tells you whether water has already gotten in.
In your ceiling panels and overhead cabinets, look for:
- Water stains or discoloration (may be brown, yellow, or dark)
- Soft spots when you press on ceiling material
- Bubbling or delaminating panel surfaces
- Musty odor near any vent or overhead storage area
If you find evidence of past water intrusion, trace it back to the roof to find the source before patching.
For the strongest test of your roof's real-world performance, plan a spring shakedown trip where you can check the interior ceiling the morning after a rain. A roof that looks fine on a dry day in the driveway can still leak under sustained rainfall.
Making Repairs
Minor sealant repairs are well within DIY range. Clean the area thoroughly, let it dry completely, then apply lap sealant designed for your roof type. For seam repairs, apply a 3 to 4 inch bead that bridges the gap and feathers out on both sides.
For punctures or tears larger than a couple of inches, or any repair where you are uncertain about the underlying structural condition, have a qualified RV technician assess it before you seal over it. Patching over hidden rot only delays the real repair and makes it worse.
How Often to Reseal
- Penetrations: Reseal every 1 to 2 years, regardless of visible condition
- Seams: Reseal every 2 to 3 years or when you first see cracking begin
- Full replacement (older rigs): Consider a complete sealant renewal every 5 years
Proactive resealing costs $20 to $60 in materials and a Saturday afternoon. Ignoring it can cost $3,000 to $15,000 in water damage repair.
A Note on Insurance
Most RV insurance policies do not cover water damage caused by deferred maintenance. If an inspection reveals that old, cracked sealant allowed water in over time, you may be responsible for the repair bill regardless of your coverage.
Keep a log of when you inspected and resealed each penetration. Documenting your maintenance protects you in a claim and helps you stay on schedule year to year. For how roof inspection fits into the full picture, the complete rv maintenance checklist covers it alongside the other areas most likely to cause expensive damage when neglected.
Your roof does its job invisibly until something goes wrong. A few minutes twice a year is a small investment against one of the most expensive repair categories in RV ownership.
RVKeeper
Never miss a roof seal inspection again
RVKeeper schedules your roof inspections automatically, pre-season, post-season, and after any road impact. The app tracks every penetration and seam you've logged, records when you last applied lap sealant, and reminds you when the next check is due. The Essentials Plan is free forever and covers the 5 components most likely to cause expensive damage if neglected.
Download RVKeeper
Personalized maintenance tracking built around your specific rig.
Frequently asked questions
How often should I inspect and reseal my RV roof?
Inspect the roof at the start and end of camping season, and add a mid-storage check if your area gets heavy snow or ice. Reseal penetrations every 1 to 2 years and seams every 2 to 3 years, or sooner if you see cracking. Any time something hits the roof on the road, inspect before your next trip.
How do I know what type of roof my RV has?
The four common types are EPDM rubber, which is gray when clean and slightly stretchy, TPO, which is white and stiffer, fiberglass, which is hard and glossy, and aluminum panels. If you are not sure, check your owner's manual or look up your coach model before buying repair materials. The roof material matters because using the wrong sealant can cause more harm than good.
What tools and supplies do I need to inspect my RV roof?
You need rubber-soled shoes for grip, lap sealant matched to your roof material, Eternabond tape for temporary patches, a flashlight, mild dish soap, water, a soft-bristle brush, and a rag. The inspection itself takes less than an hour and requires no specialized equipment. The key is using sealant compatible with your specific roof type.
What should I look for when inspecting my RV roof?
Check every penetration, such as vents, the AC unit, antennas, and solar mounts, for cracked, dried, or missing sealant. Walk the seams at the front cap, rear cap, and sides, pressing gently to feel for lifting or separation. Scan the membrane for blisters, cuts, or staining, and inspect the interior ceiling for water stains or soft spots that signal water already got in.
Will my RV insurance cover roof water damage?
Most RV insurance policies do not cover water damage caused by deferred maintenance. If an inspection shows that old, cracked sealant let water in over time, you may be responsible for the repair bill regardless of your coverage. Keeping a log of when you inspected and resealed each penetration helps protect you in a claim.
Can I repair RV roof sealant myself?
Minor sealant repairs are well within reach for most owners. Clean the area thoroughly, let it dry completely, then apply lap sealant designed for your roof type, using a 3 to 4 inch bead that bridges seams and feathers out on both sides. For punctures larger than a couple of inches or any repair where the underlying structure is questionable, have a technician assess it first.