
The RV Inspection Checklist: A System-by-System Guide for Seasonal, Pre-Storage, and Post-Storage Checks
Inspecting your own RV is the best way to catch small problems before they become expensive ones. Here is a complete system-by-system inspection checklist for the seasonal once-over, before storage, and after your rig has been sitting.
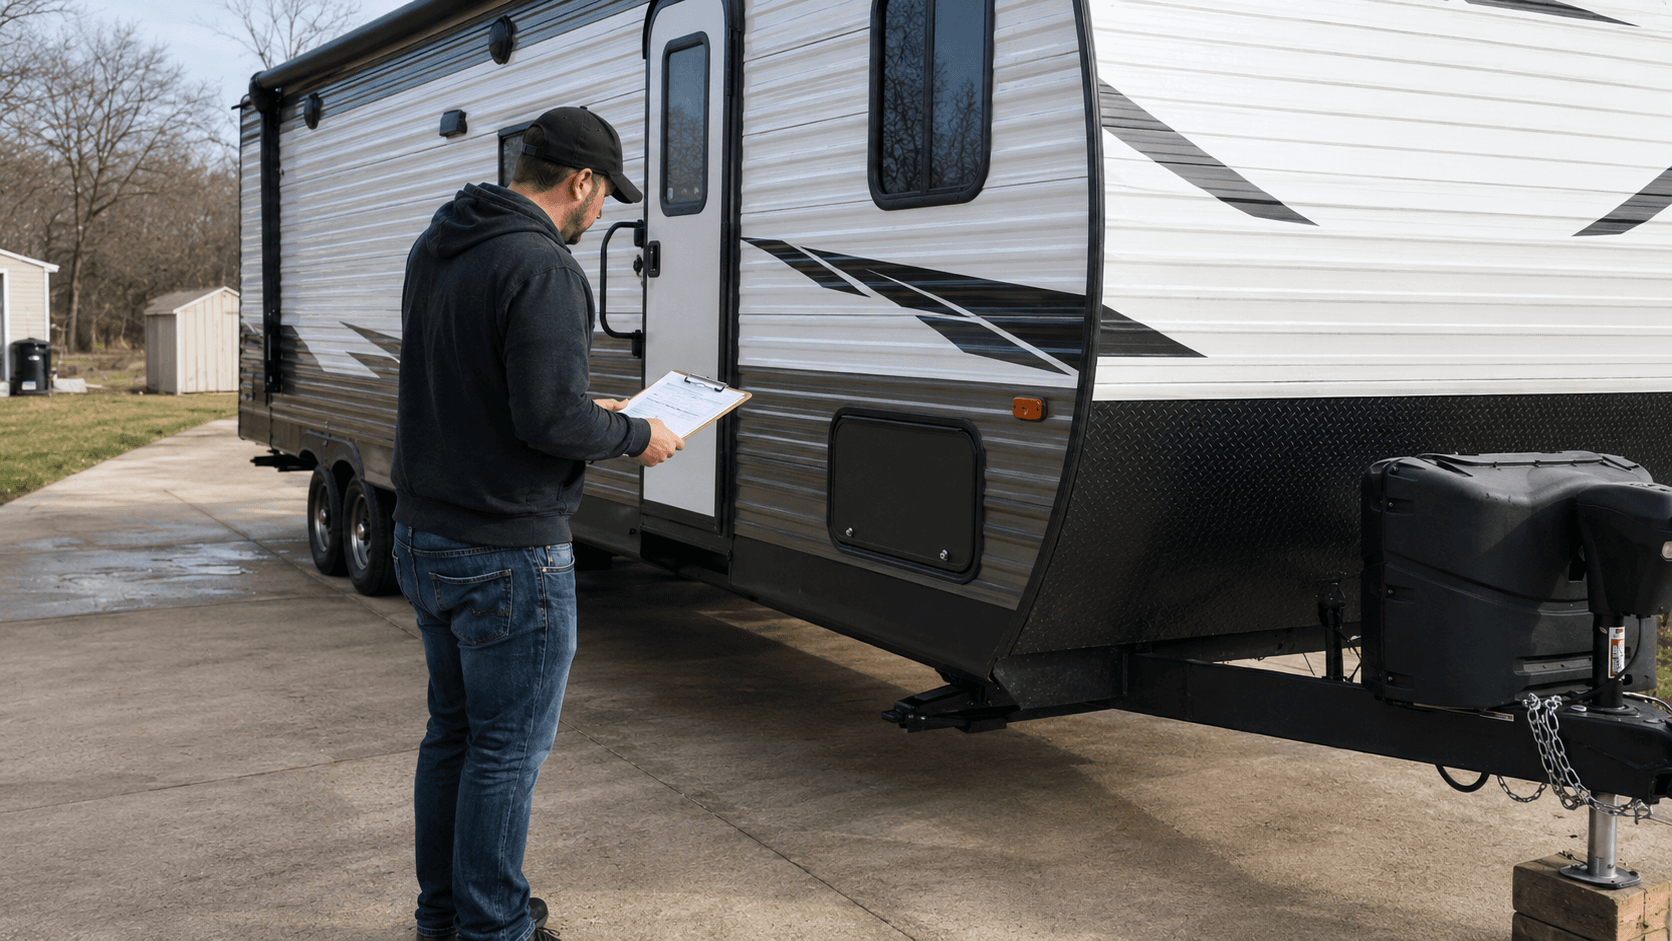
There is a kind of inspection that does not get talked about much. It is not the pre-trip walkaround you run before pulling out of the driveway, which is about trip readiness rather than condition, and it is not the careful once-over you give a used rig before you buy it. It is the inspection you do on your own RV, the one you already own, to find out what shape it is actually in before something surprises you on the road.
This is the inspection that catches the cracked roof sealant before it becomes a soft floor, the dry-rotted tire before it blows on the highway, the propane fitting that started weeping over the winter. It is the one that saves you the most money, because it catches problems while they are still small and cheap to fix.
This guide walks through a complete system-by-system inspection of your own rig. And because the right things to look for change depending on when you are inspecting, it is organized around the three moments when an owner actually does this: the seasonal once-over, the inspection before you put the rig into storage, and the inspection after it has been sitting.
The three inspection moments and why they differ
You inspect the same systems each time, but what you are looking for shifts depending on the situation.
The seasonal or annual once-over is about overall condition. You are assessing wear, catching things that have degraded since last time, and getting a current picture of where your rig stands. This is the inspection to do at the start of a season, or just on a regular schedule, to stay ahead of problems.
The pre-storage inspection is about preparing the rig to sit safely. Here you are looking for anything that will get worse while the RV is parked and unused, and confirming that the things that protect it during storage are in good shape. A small seal problem that you would shrug off before a weekend trip becomes a real concern if the rig is about to sit through months of weather.
The post-storage inspection is about finding what went wrong while it sat. RVs do not like sitting still. Fuel goes stale, tires flat-spot, seals dry out, batteries discharge, and rodents move in. The post-storage inspection is specifically hunting for the damage that accumulates during inactivity, and it is the most important one to do thoroughly, because a rig that sat all winter can have problems that were not there when you parked it.
Same systems, different focus. As we go through each system below, I will note what matters most in each of the three situations.
Roof and seals: start here, every time
If you only had time to inspect one thing, it would be the roof. Water intrusion is the single most expensive failure mode in an RV, and it almost always starts at the roof, where a small crack in the sealant lets water in that you do not see until it has rotted the wood underneath and delaminated a wall. A fifteen dollar tube of sealant caught in time prevents a repair that can run into the thousands later. When water intrusion is left to spread, it can delaminate a wall and lead to repairs that climb into the thousands of dollars, which is exactly why catching it at the seal is worth the trouble.
Get up on the roof, or use a stable ladder to see across it, and go around every penetration: the vents, the air conditioner, the antenna, the skylights, the refrigerator vent, anywhere something comes through the roof. You are looking for sealant that has cracked, lifted, chalked, or pulled away from the surface. Press gently around fixtures and along the seams where the roof meets the walls, feeling for any softness that signals water has already gotten in. Look at the membrane itself for tears, bubbles, or pooling.
For a full walkthrough of exactly what to look for and how to reseal what you find, the how to inspect your RV roof guide covers it in detail.
This matters in all three inspection moments, but it matters most before and after storage. Before storage, you want the seals solid so months of rain and snow do not find a way in. After storage, you want to confirm that a winter of weather did not open anything up. I travel primarily in the Pacific Northwest, where heavy rain and coastal salt air are hard on seals, and the post-winter roof inspection is the one I never skip, because our weather finds every weakness.
Exterior body, slides, and awnings
Walk the full perimeter of the rig and look at the body panels. You are checking for impact damage, cracks, and on fiberglass rigs, any bubbling or waviness that signals delamination, which is the fiberglass separating from the substrate behind it, usually because water got in. Delamination is serious and worth catching early.
Run the slides all the way in and out, listening for grinding or hesitation and watching that they move smoothly and seal properly when closed. Inspect the slide seals for cracks, gaps, or wear, since a failed slide seal is a direct path for water. Before storage, make sure the slides are clean and the seals are conditioned so they do not dry out and crack while parked.
Deploy the awning and look the fabric over for tears, thin spots, and any mold or mildew, which loves to grow on an awning that got rolled up wet. Check that the mechanism extends and retracts smoothly. Before storage, the awning should go away clean and dry.
Tires, wheels, and chassis
Tires are a safety item, and RV tires fail from age as often as from wear. Check the DOT date code on each tire to know how old it actually is, because an RV tire can look fine and still be too old to trust. Tire manufacturers are clear on this point: Michelin recommends having RV tires inspected annually once they are five years old and replaced by ten years regardless of how they look, because the rubber degrades with age whether the tire is used or not. Inspect the tread for wear and the sidewalls for the fine cracking that signals dry rot, which sun and time cause even on tires with plenty of tread left. Check the pressure against the rating.
Post-storage, tires get special attention. A rig that sat in one spot for months can develop flat spots where the tires were loaded in the same position the whole time, and tires that sat in the sun may have aged or cracked. Give them a careful look before that first drive out of storage.
Check the lug nuts, and if you have had wheels off for any service, plan to retorque them after the first 50 to 100 miles. Get underneath and look at the frame, the suspension, and anywhere fluid might be leaking. Underneath is also where you find evidence of rodents, which brings us to a theme that runs through the whole post-storage inspection.
Electrical and batteries
Test your batteries. A multimeter on the terminals tells you the resting voltage, and a healthy charged battery reads around 12.6 volts or higher. Readings in the low 12s mean it needs charging, and anything well below that suggests the battery is failing or something drained it. Inspect the terminals for corrosion and clean it off if you find it.
Batteries are the headline of the post-storage inspection. A battery left through months of storage often discharges, and a deeply discharged battery can be permanently damaged, so checking and charging the batteries is one of the first things to do on a rig coming out of storage. Before storage, the better practice is to prevent the problem, either disconnecting the batteries or keeping them on a maintainer so they do not sit and die.
Test the rest of the electrical system too: shore power connection, the 12-volt system, the 120-volt outlets, the GFCI outlets, and any inverter or solar setup. Confirm everything powers up and works the way it should.
Plumbing and propane
Go through the water system looking for leaks at fittings, under the sinks, around the water heater, and anywhere lines run. Run the pump and watch for drips under pressure, since some leaks only show when the system is pressurized. Check the water heater, including the anode rod if you have a Suburban unit, which the RV water heater maintenance guide covers in detail.
Propane gets a careful, deliberate check because it is a safety system, not just a comfort one. Inspect the regulator, the hoses, and the fittings for wear and damage. Do a leak test by brushing a soap and water solution on the connections with the system pressurized and watching for bubbles, which reveal a leak you cannot smell or see otherwise. Any propane leak is a genuine hazard and needs to be fixed before the system is used.
Post-storage, both systems need attention. Plumbing that was winterized needs the antifreeze flushed out and the system sanitized before use, and the bypass valves need to be set back correctly. Propane connections are worth re-checking after a rig has sat, since fittings can loosen or degrade over months of temperature swings.
Appliances and interior
Run every appliance and confirm it works: the refrigerator on both power sources if it is a two-way unit, the furnace, the air conditioner, the water heater, the stove. Appliances that sat through storage sometimes do not come back cleanly, so testing them before a trip rather than discovering a dead fridge at a campsite is the whole point.
Inside, you are hunting for signs of water intrusion and signs of rodents. Look and feel for soft spots in the floor, especially near the walls, under windows, and around slide-outs. Check the ceiling and walls for stains or discoloration. Trust your nose, because a musty smell is often the first sign of moisture you cannot yet see. And especially after storage, look for the droppings, chewed wiring, and nests that tell you something moved in while the rig was quiet. Rodents do real damage to wiring and insulation, and catching an infestation early matters.
The three inspections at a glance
Here is the quick version of what to emphasize in each situation, using the full system walkthrough above as the foundation.
For the seasonal once-over, work through every system above to get a current picture of overall condition, with the roof and seals as the top priority. This is your regular health check on the rig.
For the pre-storage inspection, focus on everything that protects the rig while it sits and everything that will get worse if left unaddressed: solid roof seals, conditioned slide seals, a clean dry awning, batteries disconnected or on a maintainer, the plumbing properly winterized if you are in a cold climate, and the propane system shut off and sound. You are setting the rig up to sit safely.
For the post-storage inspection, hunt for what went wrong while it sat: discharged or damaged batteries, flat-spotted or aged tires, stale fuel in the generator, seals that dried and cracked, rodent damage, and any water intrusion that found its way in over the months. This is the most thorough of the three, because a rig that has been sitting deserves the most suspicion before you trust it on the road.
How RVKeeper helps
An inspection is only as useful as what you do with what you find. The hard part is not spotting the cracked sealant or the aging tire. It is remembering it, tracking it, and following up before it becomes a problem.
That is where RVKeeper comes in. When your inspection turns up something that needs attention, you log it against your specific rig, and RVKeeper keeps it on your radar as a maintenance task rather than letting it fall out of your head between the inspection and the fix. It also tracks the recurring inspections on your rig, including winterizing and de-winterizing, so they become scheduled parts of owning your rig rather than things you hope you remember to do. Add a photo to the task of anything you spot, and next time you can see whether it has changed. It works hand in hand with your complete RV maintenance checklist to keep the whole rig on track.
The Essentials plan is free, no credit card required.
RVKeeper
Keep these checks on your rig's schedule
Most of these checks are already on your rig's own schedule in RVKeeper, each on its own interval: your roof and seals, your tires, your electrical, and your safety and propane checks. What you find goes on the task as a note or a photo, waiting for you the next time it comes due, and anything not already on your plan can be added as a task of your own. The Essentials Plan is free forever and covers eight categories of your rig, the ones most likely to cause expensive damage if neglected.
Download RVKeeper
Personalized maintenance tracking built around your specific rig.
Frequently asked questions
How often should I inspect my RV?
A good rhythm is a quick walkaround before every trip, a deeper system-by-system inspection at the start and end of each season, and dedicated inspections before you put the rig into storage and after you take it out. You should also inspect any time you notice something off, like a drip, an odor, or an electrical quirk. The roof and seals in particular benefit from being checked several times a year, since catching a sealant problem early prevents expensive water damage.
What is the most important thing to check when inspecting an RV?
The roof and its seals. Water intrusion is the most expensive and destructive problem an RV can develop, and it almost always begins at a failed seal around a roof penetration. Inspecting the sealant around vents, the air conditioner, skylights, and other roof fixtures, and catching any cracking or lifting early, is the single highest-value inspection you can do.
What should I check on my RV after it has been in storage?
Focus on what changes while a rig sits unused. Check the batteries for discharge, the tires for flat spots and dry rot, the generator for stale fuel problems, the seals for drying and cracking, and the interior for water intrusion and any sign of rodents. If the plumbing was winterized, flush and sanitize it before use. A post-storage inspection deserves to be thorough, since problems can develop during the months of inactivity that were not there when you parked it.
What should I inspect before putting my RV into storage?
Before storage, concentrate on everything that protects the rig while it sits. Make sure the roof and slide seals are solid so months of weather cannot get in, the awning is clean and dry, the batteries are disconnected or on a maintainer, the plumbing is winterized if you are in a cold climate, and the propane system is shut off and in good condition. The goal is to set the rig up so it sits safely and comes out in the same shape it went in.
Do I need a professional to inspect my RV?
For routine seasonal, pre-storage, and post-storage inspections of a rig you own, a careful owner with a checklist and basic tools can catch most of what matters. A professional inspection, ideally from an NRVIA-certified inspector, makes the most sense when you are buying a used rig, when the RV is high-value, or when you suspect a serious problem like hidden water damage that calls for moisture mapping and thermal imaging. Doing your own regular inspections and bringing in a pro for those specific situations is a sound approach.
How do I check my RV for water damage?
Look and feel for soft spots in the floor near walls, under windows, and around slide-outs, check the ceiling and walls for stains or discoloration, and pay attention to any musty smell, which is often the first sign of moisture. On the outside, inspect the roof sealant and the slide and window seals for any failure that could let water in. Because water damage often hides until it is advanced, catching the early signs and the seal problems that cause it is the key to staying ahead of it.
What should I look for when inspecting RV tires?
Check the DOT date code to know the tire's actual age, since RV tires often age out before they wear out and old tires fail even with good tread. Inspect the tread for wear and the sidewalls for the fine cracks that signal dry rot from sun and time, and confirm the pressure against the rating. After storage, also look for flat spots from the tires sitting loaded in one position. Tire failure is a safety issue, so when a tire is too old or shows dry rot, it is worth replacing even if the tread looks fine.